Write your spec
Write your Features
Break what you'll build into requirements, features, and specifications, and track progress with status and priority.
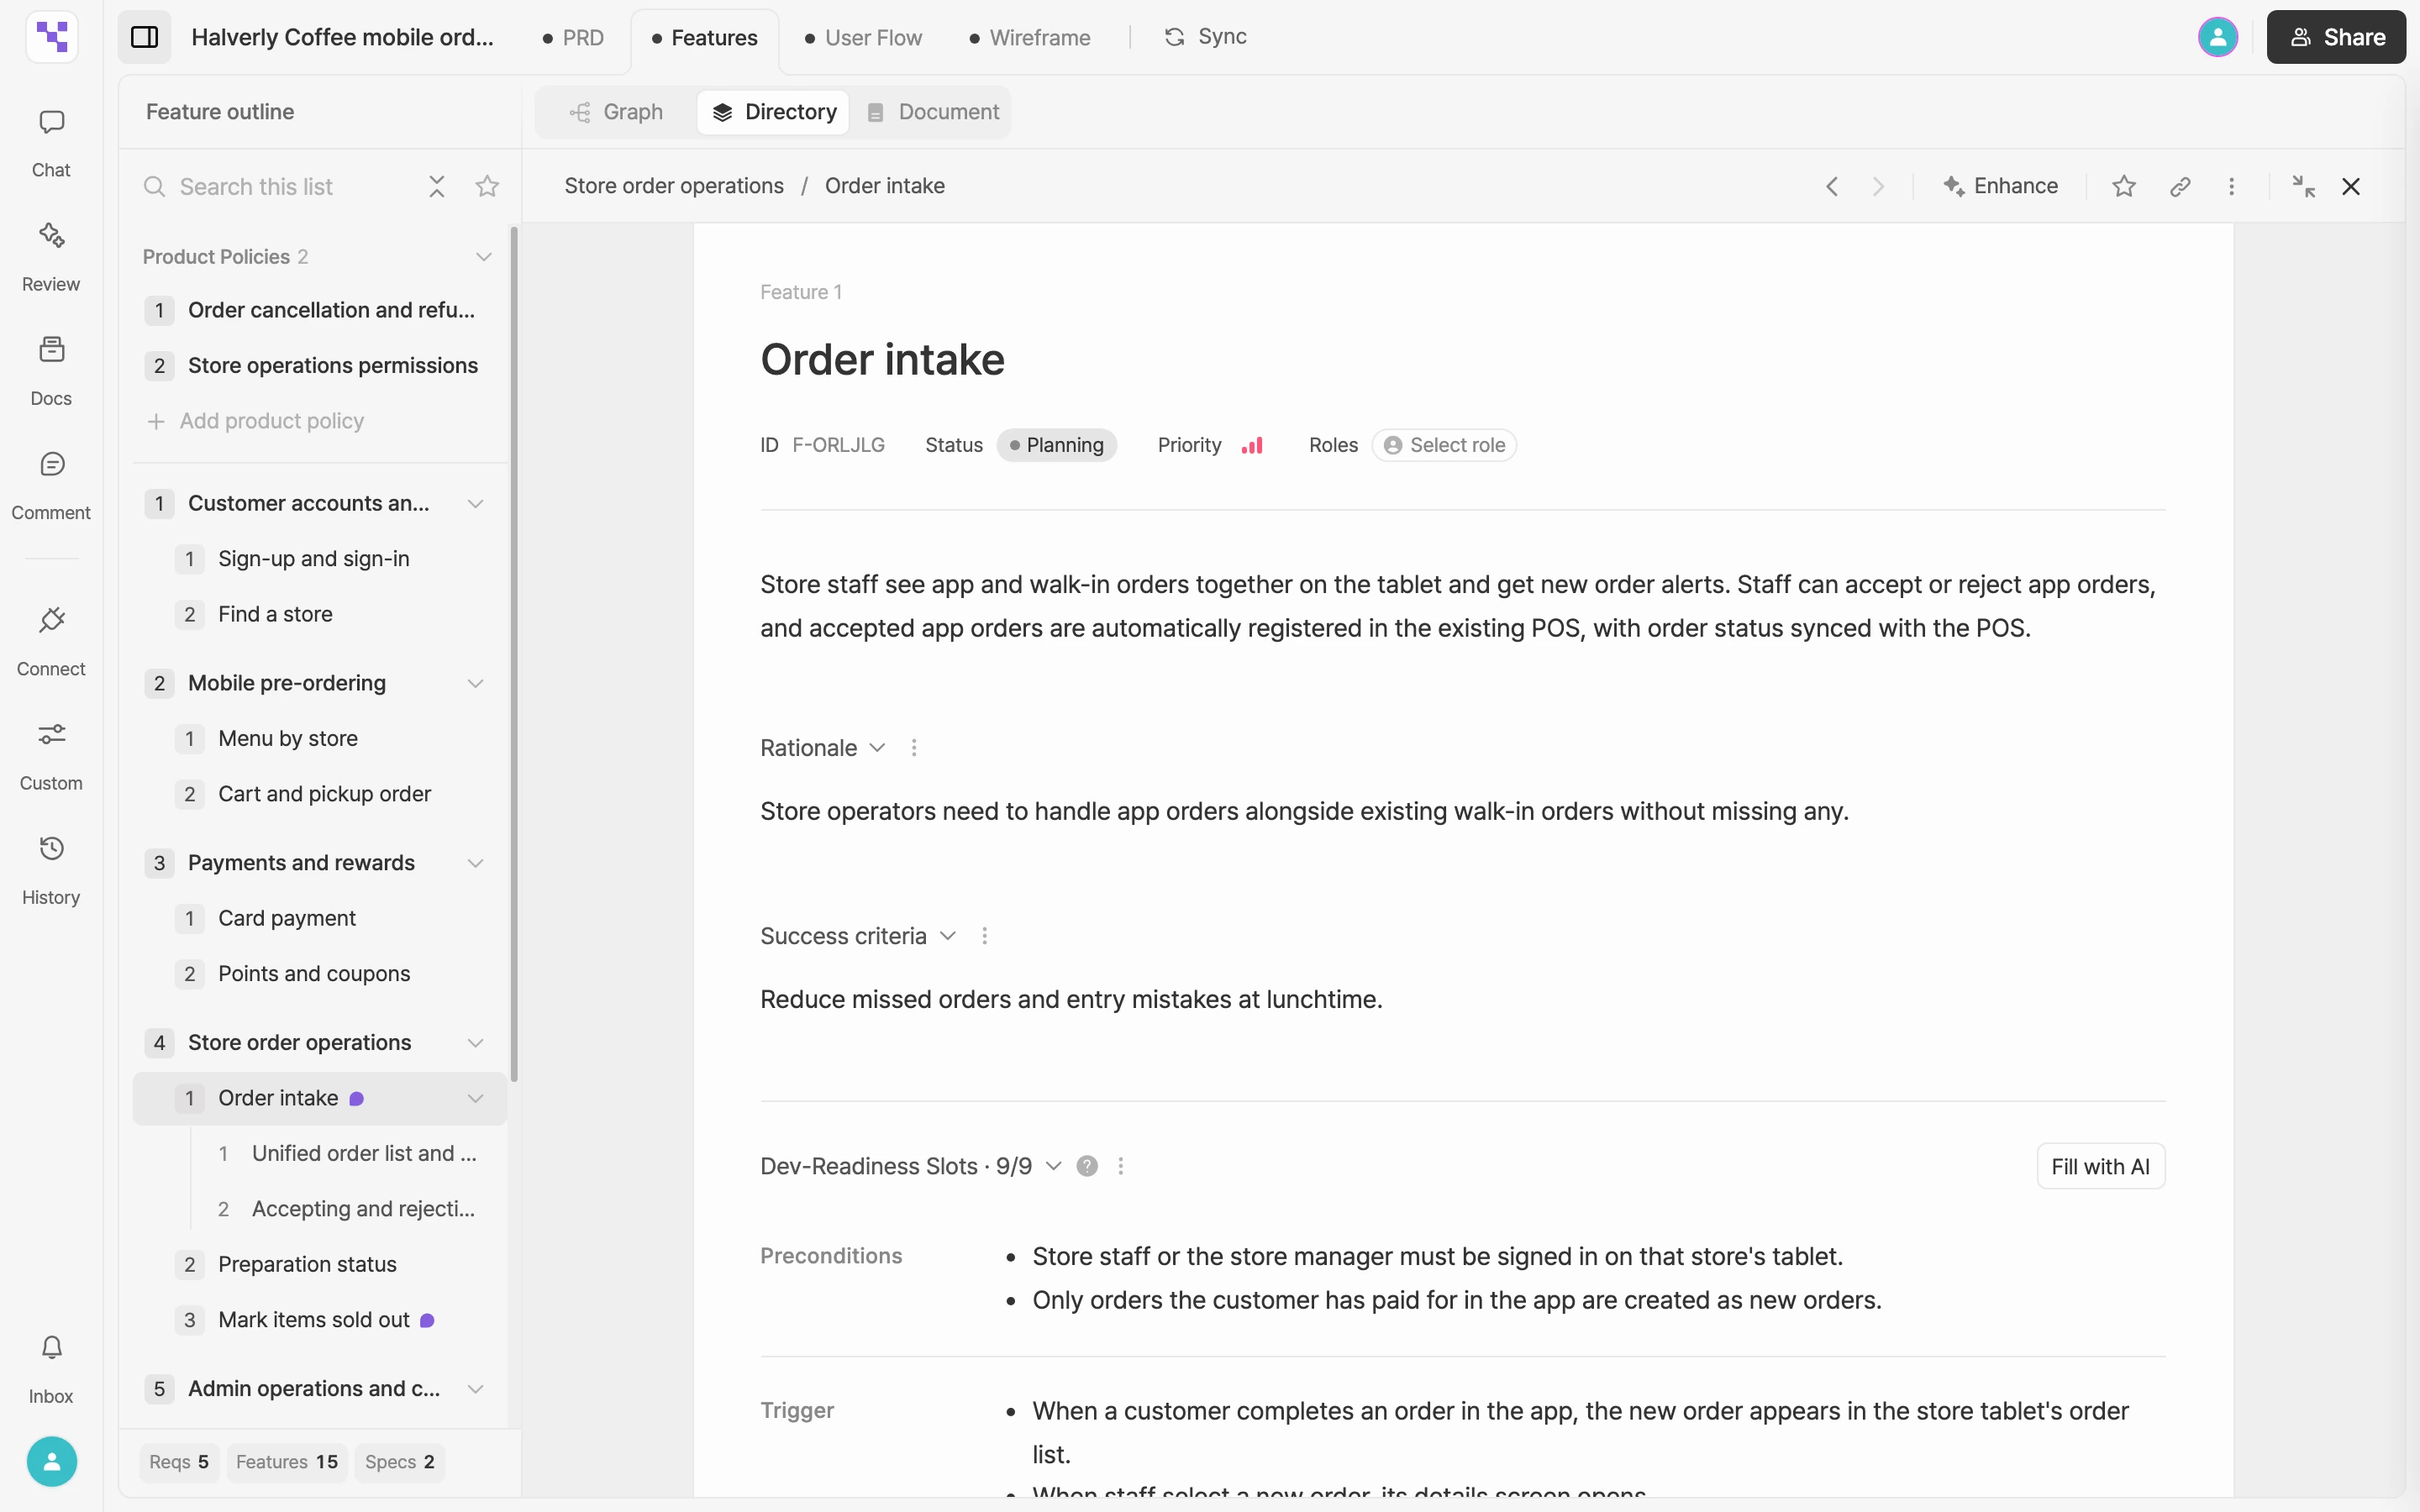
Features is where you turn the goals in your PRD into the units you'll actually build. You write it on the Features tab in the editor (Shift+2). The same content appears in three views, Graph, Directory, and Document, and an edit in one view shows up in the others right away. For what's different in each view, see View as graph, directory, or document.
Three levels
Features has three levels: Requirement, then Feature under it, then Specification under each feature.
| Level | What it holds | Example |
|---|---|---|
| Requirement | A broad area the product needs to cover. It groups related features. | Account management |
| Feature | One capability a user uses. | Sign up with email |
| Specification | One behavior inside a feature that you can check on its own. Simple features don't need any. | Validate the sign-up email format |
Decisions that apply across many features, like pricing, permissions, or data retention, go in product policies, which sit outside this hierarchy. See Organize product policies.
Add items
Add items yourself
- Requirement: Select Add requirement at the bottom of the Feature outline list in the navigator.
- Feature: In the list, hover over a requirement row and select +.
- Specification: In the list, hover over a feature row and select +.
- In the Graph view, a + appears to the right of an item when you select it or hover over it. Select it and choose Add manually.
Once the new item appears, fill in its name and content in the detail view.
Generate items with AI
In the Graph view, select the + to the right of an item to open the AI menu.
| Menu item | Where | What it does |
|---|---|---|
| Generate with AI | PRD card, requirements, features | Creates the next level down: requirements from the PRD, features from a requirement, and specifications from a feature. |
| Generate all | PRD card, requirements | Creates every level below in one go. From the PRD card, it builds requirements, then features, then specifications. |
- Generate all also appears in the bottom row of the PRD card.
- If there are no requirements yet, the graph shows a chain of dashed boxes: Add requirement, Add feature, and Add specification. Only the first box, Add requirement, can be selected. Select it and choose Generate with AI or Add manually.
- You can also ask in chat, for example "Add more features under the payments requirement." See Plan with chat.
Items that AI creates aren't final right away. They arrive as suggestions with a New badge, and they stay in Features only after you approve them. You can't start Generate all again while items are still waiting for approval, so handle those suggestions first. See Approve or reject AI suggestions.
Fill in an item
Select an item to open its details. In the Graph view they open in a panel on the right. In the Directory view they open to the right of the list. In the Document view they appear right in the document.
At the top of the details are the name, ID, Status, and Priority. Features also have Roles. Write a description under the name, then fill in the extra fields for each level.
| Level | Extra fields |
|---|---|
| Requirement | Acceptance Criteria: The conditions that show this requirement is met, as a list. Select + to add one at a time. |
| Feature | Rationale, Success criteria, Dev-Readiness Slots |
| Specification | Dev-Readiness Slots |
Further down, you'll see any product policies that reference the item, plus its comments.
Status
Use Status to show where an item is, from planning through development.
| Status | Meaning |
|---|---|
| Planning | Still being written. New items start here. |
| Proposed | Written, and needs the team to review and agree. |
| Confirmed | Agreed on, and ready for development. |
| In Development | The confirmed plan is being built. |
| Development Done | Built and checked. |
| On Hold | Paused on purpose. |
When you change the status of a requirement or feature, a bar at the bottom of the screen asks whether to give the items below it the same status (for example, "Set 3 features below to this status too?"). Select Apply to update them all, or Dismiss to leave them as they are.
Priority
Set Priority to Low, Medium, or High. Items without a priority count as Medium in the graph filters.
Roles
Use a feature's Roles to pick who uses it. The roles you can pick come from User Roles in your PRD's Project Basics. If a role is missing, add it in the PRD first. See Write your PRD.
Rationale and success criteria
- Rationale: Why this feature is needed. For example: the team needs to review and revise the spec together.
- Success criteria: What counts as success. For example: a share of new groups invite a teammate within a month.
Hide fields you don't use
If your project doesn't use Rationale, Success criteria, or Dev-Readiness Slots, you can hide them.
- Select the menu button next to the field title.
- Choose Don't use this field. The field disappears from every feature and specification, and AI stops filling it.
- To change your mind right away, select Undo in the notification.
To turn a field back on later, select Fields near the bottom of the details and pick the field. Anything written in it is kept while it's hidden, so it all comes back when you turn it on again.
Dev-readiness slots
Features and specifications have Dev-Readiness Slots: nine fields for the details a developer would otherwise have to ask about, like preconditions, exceptions, permissions, and data. You can let AI draft them and fill the gaps by answering its questions. See Fill in dev-readiness slots.