Team and sharing
Invite members
Invite people to your group by email or invitation link, and manage pending invitations and join requests.
When you invite someone to your group, you can view and edit the group's projects together. Each invited person becomes a group member, takes one seat, and gets the role you pick when you invite them. To show a single project to someone outside the group, use Share a link or Invite external editors instead.
Open the invite window
You can open the Invite Members window from any of these four places:
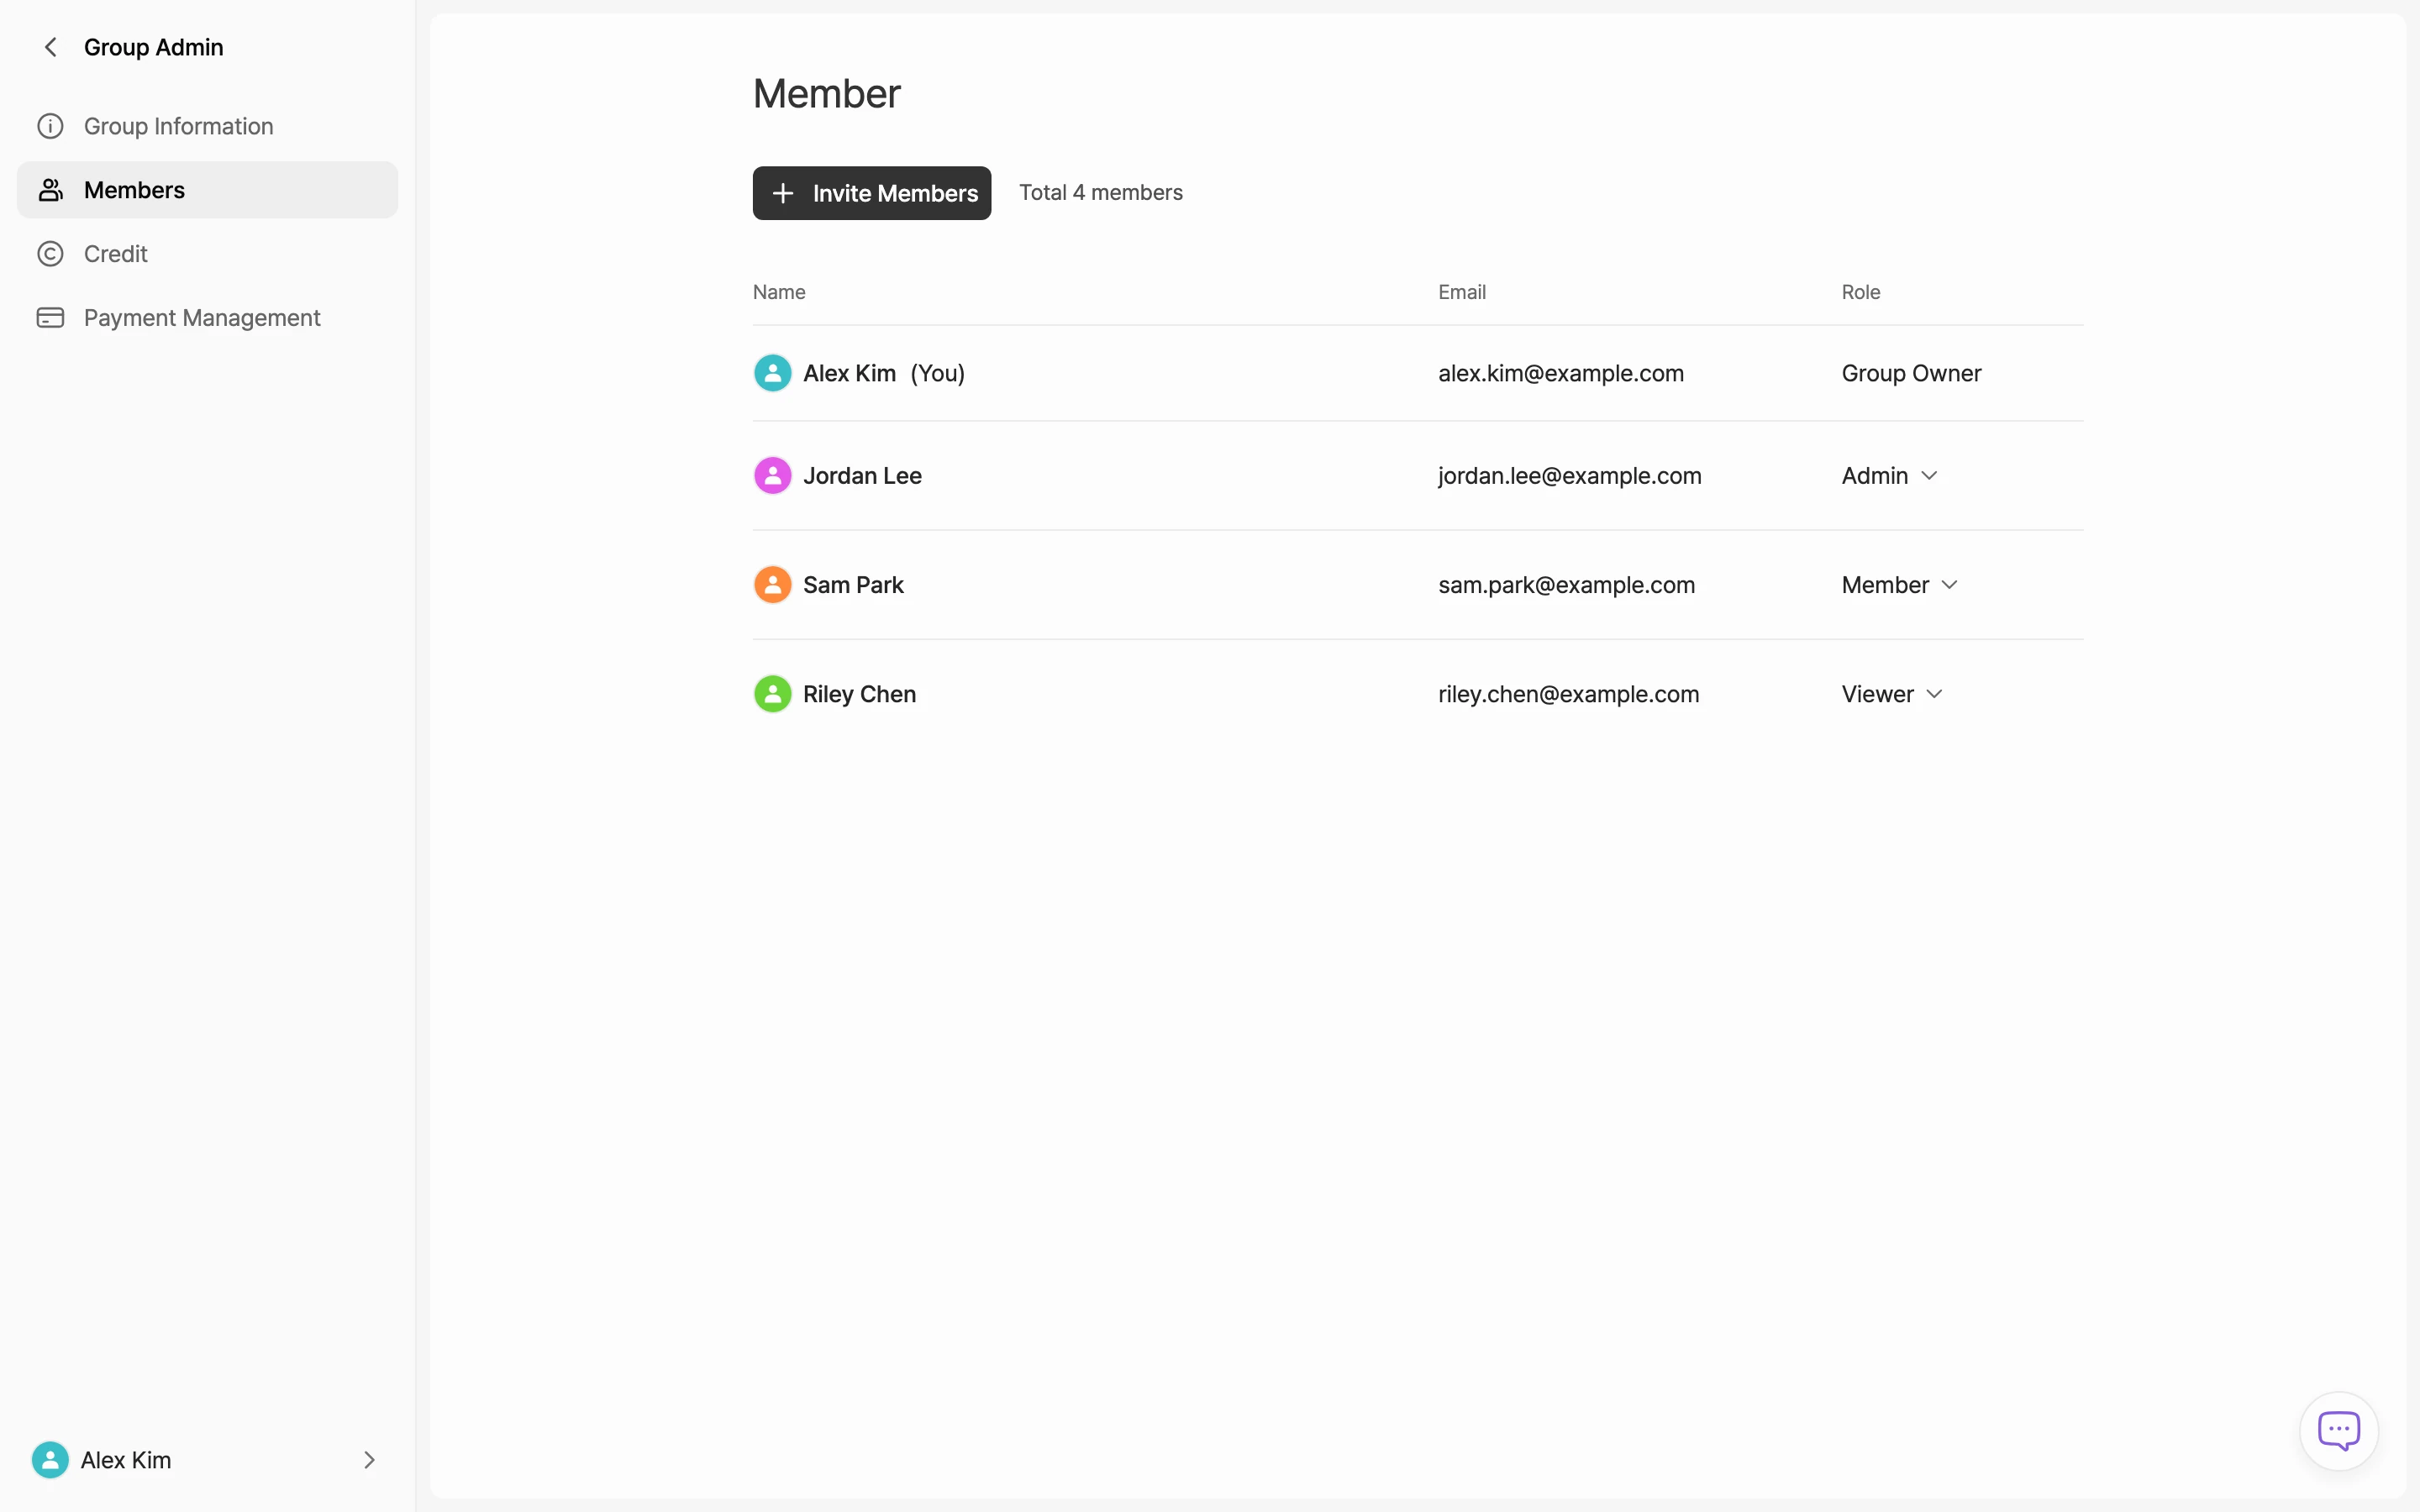
- The Invite Members button on Manage Group > Members.
- Invite Members in the group menu at the top of the sidebar. This takes you to the Members page, where you click Invite Members.
- The plan button at the top right of the top bar (it shows your plan and member count). Click it, then click Invite in the Current group section.
- The Share button in the project editor. Open the Members tab, click the group members row to expand it, then click Invite members.
The last two take you to the Members page and open the invite window for you.
Invite by email
- Open the Invite Members window.
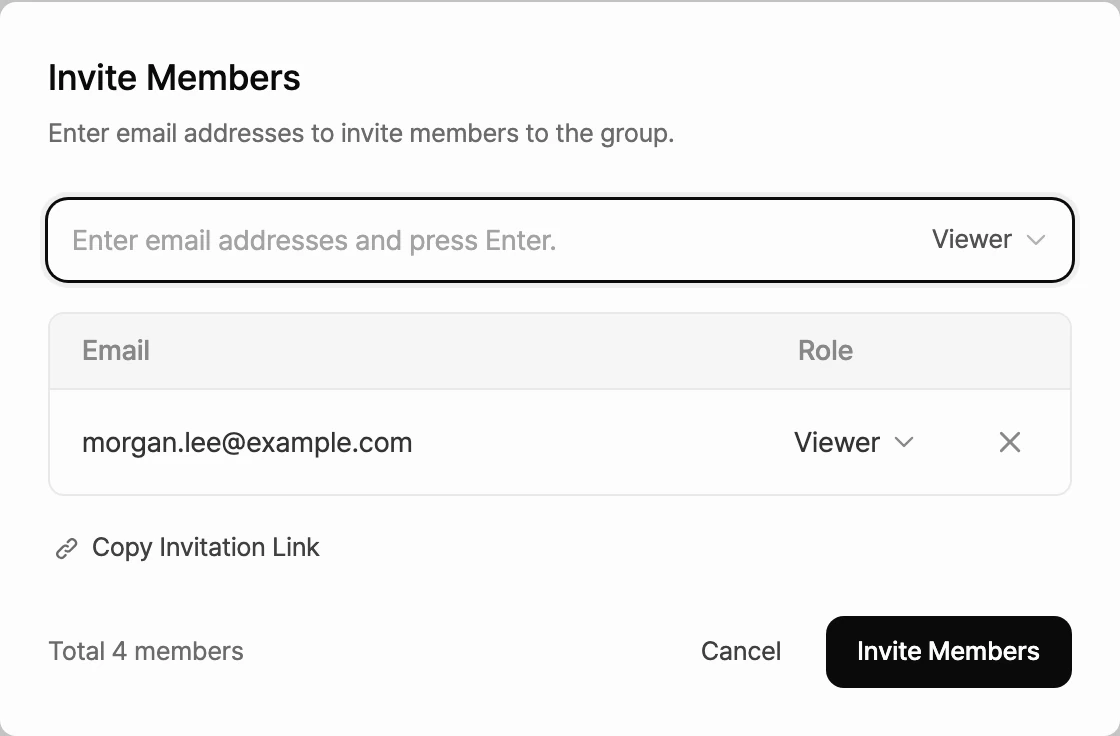
- Pick a role to the right of the input: Admin, Member, or Viewer. Member is selected by default. The role you pick applies to the addresses you add next.
- Type an email address and press
Enter. Keep going to add more people. You can add up to 50 at a time. - In the list below, you can change the Role for each person. Remove any address you added by mistake.
- Click Invite Members.
Each person gets an invitation email. People who already have a Manyfast account also get a notification. Email invitations are valid for 7 days from when they're sent. To see what each role can do, check Roles and permissions.
Invite with a link
If you don't have someone's email address, or you'd rather send an invite over chat, use an invitation link.
- Open the Invite Members window.
- Click Copy Invitation Link. The link is copied to your clipboard.
- Send the link to the people you want to invite.
An invitation link adds people to your group as members. It's different from a share link, which only shows a project in read-only mode.
How invited people join
- Opening the link in the invitation email shows an invitation page with who invited them, their role, and the expiration date. Clicking Accept adds them to the group. Clicking Reject declines the invitation.
- If they aren't signed in, they need to Sign In or Sign Up first. An email invitation can only be accepted from the account that uses the invited email address.
- People who already use Manyfast can also find the invitation under the bell button in the top bar (Inbox) and click Accept or Reject there.
Manage pending invitations
Once you've sent invitations, the group owner and admins see a Pending tab on the Members page. It lists each email invitation with its status, expiration date, and role. The number next to the tab name is how many email invitations are still waiting to be accepted.
- Cancel: withdraws an invitation that's still waiting.
- Resend: sends an expired, declined, or canceled invitation again.
Declined and expired invitations stay in the list for 7 days, then disappear on their own.
Approve join requests
When someone outside the group is signed in, viewing a project through a share link, and clicks Request access, your group gets a join request. The group owner and admins can handle it in two places:
- On Manage Group > Members, open the Join Requests tab and click Approve or Reject.
- Under the bell button in the top bar (Inbox), click Accept or Reject on the notification.
Once approved, the person joins the group with the Member role. If the group has no room for them, the approval fails. In that case, see When you can't invite.
When you can't invite
Every member, including the group owner, uses one seat. An email invitation that hasn't been accepted yet also holds a seat. You can see how many seats are in use on the Members page and in the invite window.
If there's no room for the people you're inviting, you'll see a message that fits the situation:
- Starter plan: a window titled Inviting members requires Pro or higher appears. Click See plans to upgrade.
- Over the member cap on Pro: a window titled Team collaboration needs Team appears. Click View Team plan to look at the Team plan.
- No open seats: the group owner sees the Manage seats window. After adding seats, you return to the invite window you were filling out and can send it. Admins see a message asking them to have the group owner add seats.
- During a Team trial: there's a set number of people you can invite during the trial. To add more, subscribe to Team.
If your group pays for seats, the group owner can also change the seat count from Manage seats on the Members page. For details on adding and removing seats, see Billing.